
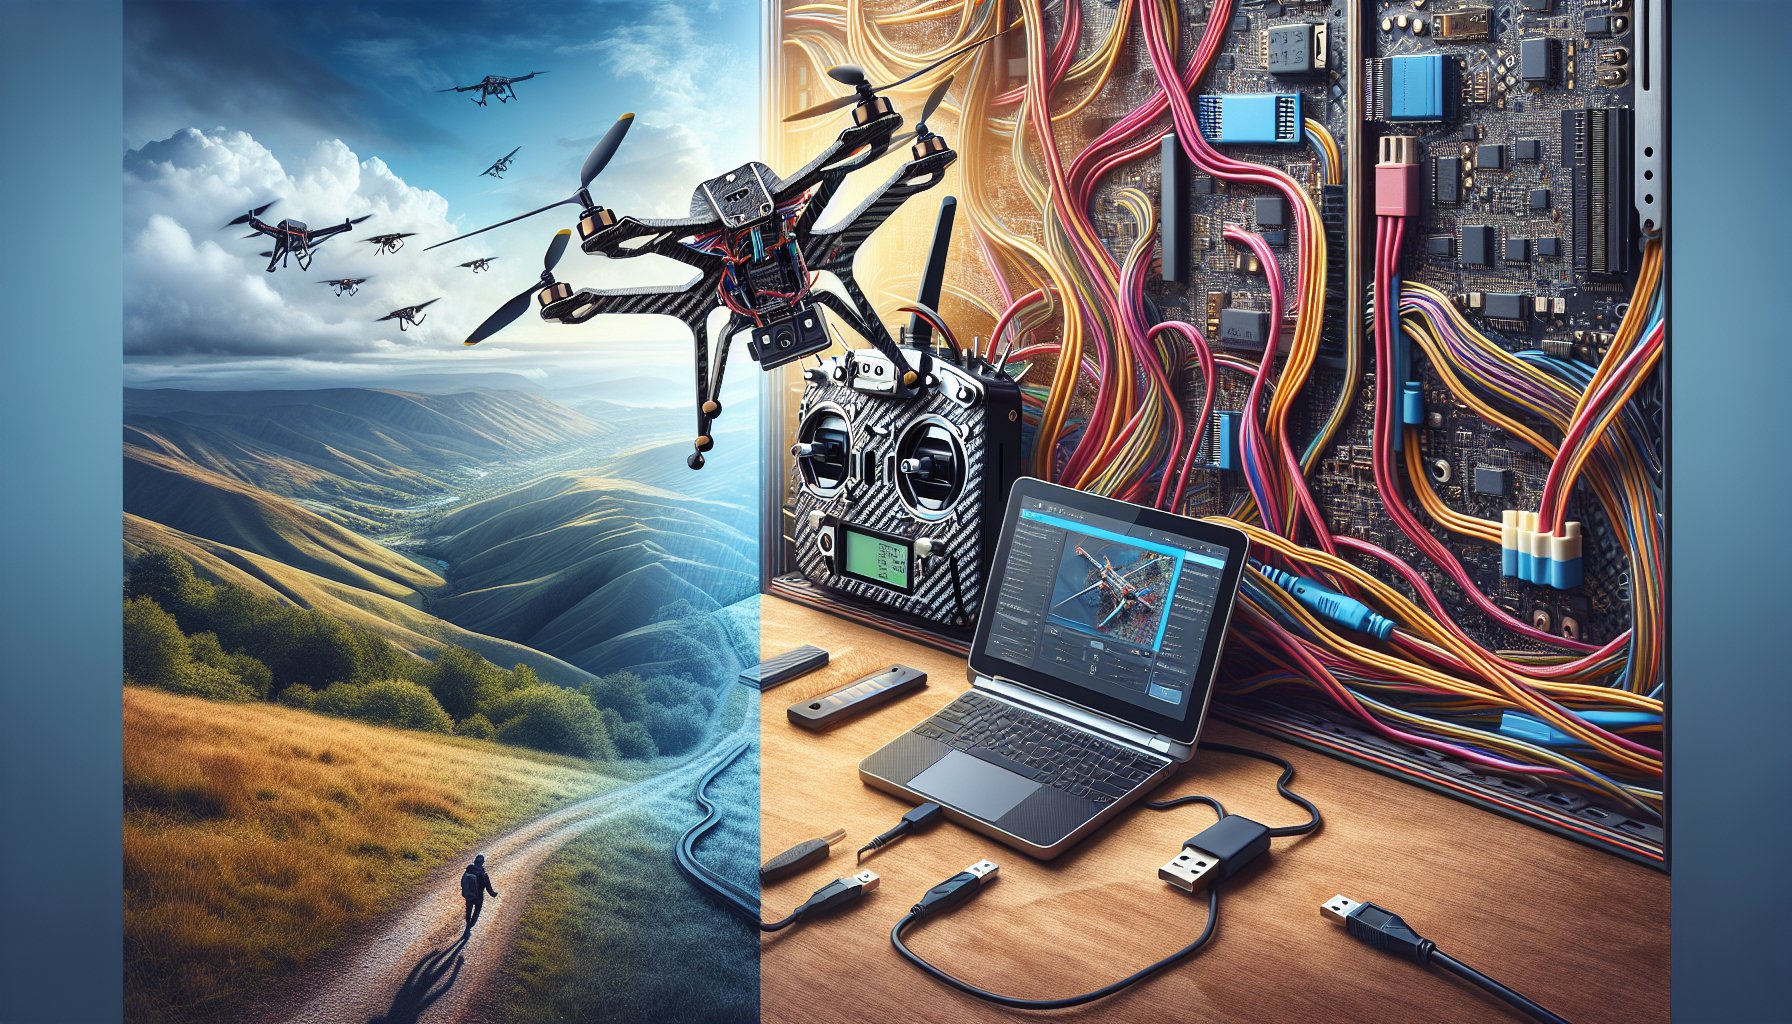
Essential Pre-Configuration Steps for Flight Controller Software Set Up
Before diving into the flight controller software set up checklist, proper preparation prevents countless headaches down the line. Start by identifying your flight controller’s processor type, whether it’s an F4, F7, or H7 chip, as this determines firmware compatibility and performance capabilities. Download the latest version of your chosen configurator software – Betaflight Configurator for most racing and freestyle builds, INAV for long-range applications, or EmuFlight for specialized setups. Verify your computer meets the system requirements and install necessary drivers for USB communication. Create a dedicated folder structure on your desktop to organize firmware files, backup configurations, and custom settings. This organizational approach streamlines the entire setup process and provides quick access to essential files during configuration sessions.
Hardware preparation plays an equally critical role in successful flight controller software configuration. Inspect all solder joints on your flight controller, ensuring clean connections without cold joints or bridging that could cause communication failures. Test your USB cable with a multimeter to verify data line continuity, as faulty cables are responsible for numerous configuration failures that pilots mistakenly attribute to software issues. Charge your transmitter and receiver batteries to full capacity, preventing unexpected disconnections during critical binding and calibration procedures. Remove propellers from your drone and secure it in a stable position using a build stand or foam padding. This safety measure prevents accidental motor activation while protecting your workspace from potential damage during the configuration process.
Flight Controller Software Set Up Checklist: Firmware Installation and Initial Configuration
The firmware installation process requires methodical attention to detail and adherence to specific protocols. Connect your flight controller to the computer using a high-quality USB cable, then launch your configurator software and navigate to the firmware flasher tab. Select the correct target for your specific flight controller model – choosing the wrong target can brick your board and require recovery procedures. Download the latest stable firmware version rather than release candidates, as stability takes priority over cutting-edge features for most pilots. Enable full chip erase to clear previous configurations completely, preventing conflicts between old and new firmware versions. Hold the boot button while connecting USB power to enter DFU mode, then click flash firmware and wait for the process to complete without interrupting the connection.
Initial configuration steps establish the foundation for optimal flight performance and safety protocols. Navigate to the setup tab and verify the accelerometer calibration shows level orientation when the drone sits flat on a stable surface. Configure the correct mixer type based on your frame geometry – quadcopter X for standard racing frames, or specialized mixers for tricopters, hexacopters, or custom configurations. Set the motor direction according to your ESC protocol and propeller rotation preferences, typically using props-in configuration for modern racing setups. Enable the necessary features like OSD, telemetry, and GPS if applicable to your build requirements. Save the configuration and perform a full reboot cycle to ensure all settings take effect properly before proceeding to advanced tuning parameters.
Critical Safety Features and Failsafe Configuration
Failsafe configuration represents the most critical aspect of flight controller software setup, potentially preventing crashes, injuries, and property damage. Navigate to the failsafe tab and configure drop mode as the primary failsafe action, causing the drone to immediately cut motor power when signal loss occurs. Set the failsafe delay between 0.5 and 1.0 seconds to balance responsiveness with false trigger prevention during temporary signal interruptions. Configure stage 2 failsafe to activate GPS return-to-home if your build includes GPS functionality, providing an additional recovery option for extended signal loss scenarios. Test failsafe operation by powering on the drone without the transmitter, verifying that motors remain disarmed and the flight controller enters failsafe mode as expected. Document these settings in your build log for future reference and troubleshooting purposes.
Receiver Binding and Control Surface Configuration
Receiver configuration establishes reliable communication between your transmitter and flight controller, forming the foundation of responsive control input. Access the receiver tab and select the appropriate protocol for your receiver type – SBUS for FrSky and most modern receivers, CRSF for TBS Crossfire systems, or PPM for older equipment. Configure the correct UART assignment based on your flight controller’s pinout diagram, typically UART1 or UART2 for receiver communication. Enable telemetry if your receiver supports bidirectional communication, allowing real-time monitoring of battery voltage, RSSI, and flight data on your transmitter display. Set the channel mapping to match your transmitter’s stick configuration, ensuring proper control response during flight operations.
Transmitter binding procedures vary between manufacturer protocols but follow similar fundamental principles. Put your receiver into binding mode using the appropriate method – button press, jumper placement, or CLI command depending on the receiver type. Activate binding mode on your transmitter while powering on the receiver, maintaining the binding sequence until successful connection indicators appear. Verify channel inputs register correctly in the configurator by moving transmitter sticks and switches while monitoring the receiver tab display. Configure auxiliary channels for flight modes, arming switches, and additional features like turtle mode or GPS rescue functions. Test the full range of stick movement and switch positions to confirm proper signal transmission before proceeding to motor and ESC configuration steps.
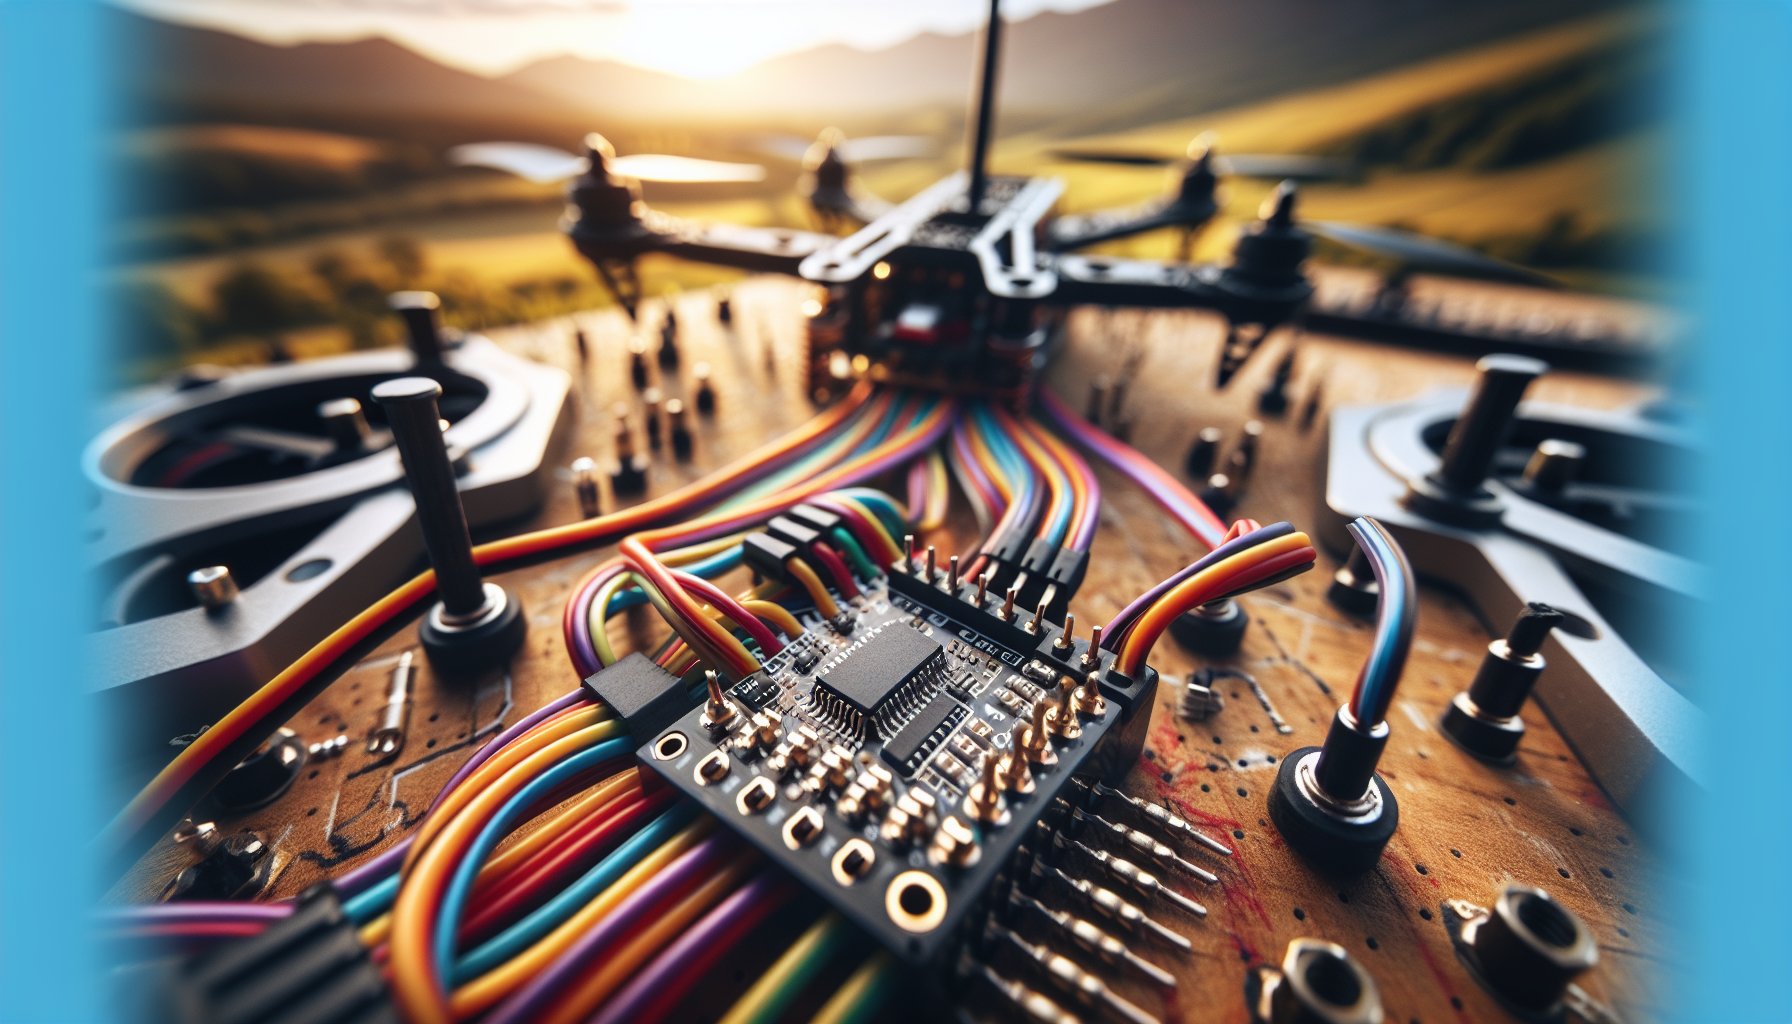
Motor Direction and ESC Protocol Setup
Motor configuration requires precise attention to rotation direction and ESC communication protocols for optimal performance and safety. Navigate to the motors tab and verify that motor numbering matches your flight controller’s standard layout – typically motor 1 front right, motor 2 rear right, motor 3 rear left, and motor 4 front left for quadcopter configurations. Select the appropriate ESC protocol based on your ESC specifications – DShot600 for most modern 32-bit ESCs, DShot300 for older hardware, or PWM for legacy systems. Enable bidirectional DShot if your ESCs support this feature, allowing the flight controller to receive RPM telemetry for improved filtering and performance optimization. Configure motor idle speed between 3-5% to maintain consistent motor response and prevent desync issues during aggressive maneuvers.
Advanced Configuration and Performance Optimization
Advanced configuration parameters fine-tune flight performance characteristics and optimize system efficiency for specific flying styles and conditions. Access the PID tuning tab and load appropriate preset values for your frame size and intended use – racing presets for competitive flying, freestyle settings for aerobatic maneuvers, or cinematic profiles for smooth video capture. Configure the gyro and PID loop frequencies based on your flight controller’s processing capabilities, typically 8kHz gyro and 4kHz PID loop for F4 processors, or higher frequencies for F7 and H7 controllers. Enable dynamic filtering to automatically adjust filter parameters based on flight conditions, reducing the need for manual filter tuning while maintaining optimal noise rejection. Set up blackbox logging at appropriate sample rates to capture flight data for post-flight analysis and tuning refinement.
OSD configuration provides essential flight information and enhances situational awareness during flight operations. Navigate to the OSD tab and enable the on-screen display feature, then configure element positioning based on your camera aspect ratio and personal preferences. Add critical elements like battery voltage, current draw, flight time, and RSSI to monitor system health during flight. Include artificial horizon and GPS coordinates if your build supports these features, providing additional navigation assistance for long-range flights. Configure warning thresholds for low battery voltage, high current draw, and signal loss to receive timely alerts before critical situations develop. Test OSD functionality using the preview feature and adjust element sizes and positions for optimal visibility under various lighting conditions.
Final Testing and Validation Procedures
Comprehensive testing validates all configuration parameters and identifies potential issues before maiden flight attempts. Perform a complete system check by powering on the drone and transmitter, verifying that all control inputs register correctly and safety features function as configured. Test motor direction by briefly spinning each motor individually, confirming proper rotation direction according to your propeller configuration. Validate failsafe operation by turning off the transmitter while the drone is disarmed, ensuring the flight controller enters failsafe mode within the configured delay period. Check OSD functionality by reviewing all displayed elements and warning thresholds, confirming accurate sensor readings and proper alert activation. Document the final configuration by saving a backup file and recording key settings in your build log for future reference and troubleshooting support.
Frequently Asked Questions
What firmware should I choose for my flight controller setup?
Choose Betaflight for racing and freestyle flying, INAV for long-range and GPS applications, or EmuFlight for specialized setups requiring advanced filtering. Always use the latest stable release rather than beta versions for reliability.
How do I know if my flight controller software is configured correctly?
Verify proper configuration by testing all control inputs, confirming failsafe activation, checking motor directions, and validating OSD display. All safety features should function as expected before attempting flight.
Why won’t my receiver bind to the flight controller?
Common binding issues include incorrect protocol selection, wrong UART assignment, or incompatible firmware versions. Verify receiver protocol matches configurator settings and check UART wiring according to your flight controller pinout.
What ESC protocol should I use for my setup?
Use DShot600 for modern 32-bit ESCs, DShot300 for older hardware, or PWM for legacy systems. Enable bidirectional DShot if your ESCs support RPM telemetry for improved filtering performance.
Need Expert Help with Your Flight Controller Setup?
Configuring flight controller software can be complex, especially for first-time builders. Our experienced team provides personalized setup assistance, troubleshooting support, and performance optimization services to get your FPV drone flying perfectly. Contact us today for professional configuration help and avoid costly mistakes that could damage your equipment.