
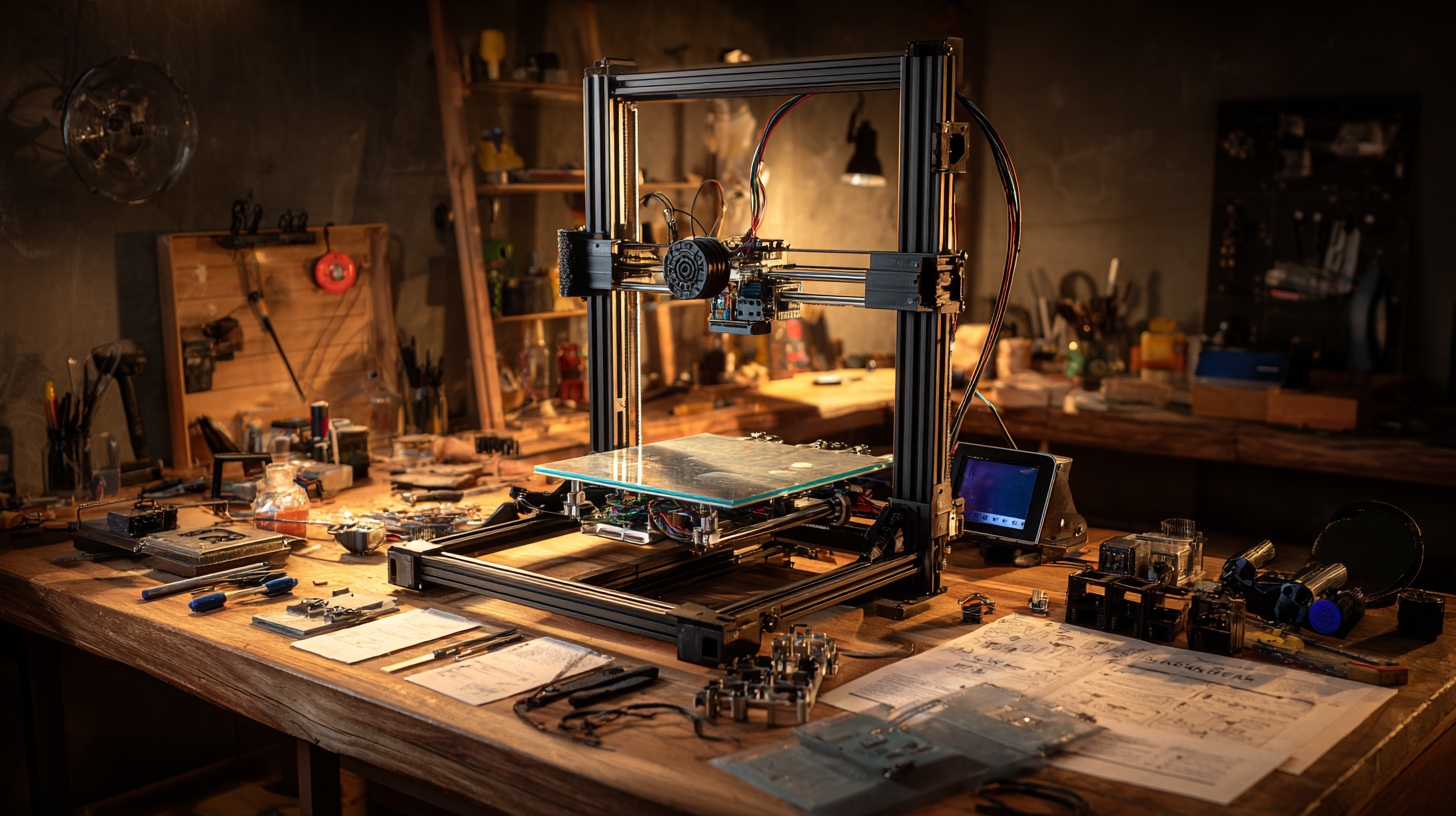
Anet A8 Build Guide: Essential Components and Tools
The Anet A8 build guide begins with understanding this popular DIY 3D printer kit that has captured the attention of makers worldwide. This budget-friendly Prusa i3 clone requires careful assembly but rewards builders with a capable printing machine. Before starting your Anet A8 build guide journey, gather essential tools including Phillips head screwdrivers, Allen keys (hex keys), wire strippers, and a multimeter for electrical testing. The kit includes an acrylic frame, stepper motors, heated bed, extruder assembly, electronics board, power supply, and various hardware components. Organization proves crucial during assembly, so sort screws and components into labeled containers. The build process typically takes 6-10 hours for first-time builders, though experienced makers can complete assembly in 3-4 hours.
Safety considerations form a critical part of any Anet A8 build guide, as this printer requires electrical connections and heated components. Work in a well-ventilated area with adequate lighting, and keep a fire extinguisher nearby when testing heated elements. The acrylic frame design, while cost-effective, demands careful handling to prevent cracking. Read through the entire instruction manual before beginning assembly, as understanding the complete build sequence prevents costly mistakes. Many builders recommend watching video tutorials alongside the printed instructions, as visual guidance helps clarify complex assembly steps. Having a second person available during frame assembly proves beneficial, as some steps require holding multiple components simultaneously while securing fasteners.
Frame Assembly and Structural Components
Frame construction represents the foundation of your Anet A8 build guide success, requiring precise alignment and secure connections. Begin by identifying all acrylic frame pieces, including the base plate, vertical supports, top frame, and various brackets. The laser-cut acrylic components feature protective film that should remain in place during assembly to prevent scratches. Start with the base assembly, connecting the bottom frame pieces using the provided screws and ensuring all connections are finger-tight initially. The Y-axis frame assembly follows, incorporating the heated bed support structure and linear bearings. Proper alignment during this stage prevents binding issues later in the build process. Use a square or measuring tool to verify frame geometry before final tightening.
Electronics Installation and Wiring Safety
Electronics installation within your Anet A8 build guide requires methodical attention to wiring diagrams and safety protocols. The main control board mounts to the frame using standoffs, providing proper ventilation and preventing short circuits. Begin by installing the power supply, ensuring proper grounding and secure mounting. The heated bed wiring represents a critical safety component, as inadequate connections can cause overheating and fire hazards. Use the provided ferrules on all wire connections to the heated bed, and consider upgrading to higher-gauge wiring for improved safety margins. The extruder wiring includes thermistor connections, heater cartridge wiring, and stepper motor connections, each requiring careful routing to prevent interference with moving components.
Proper wire management prevents mechanical damage and maintains clean aesthetics throughout your Anet A8 build guide implementation. Route wires away from moving parts, using cable chains or spiral wrap where appropriate. The endstop switches require precise positioning and secure mounting to ensure accurate homing operations. Test each electrical connection with a multimeter before applying power, verifying continuity and proper polarity. The LCD display and control knob installation completes the user interface, requiring careful connector alignment to prevent damage. Consider adding a main power switch and fused power inlet for enhanced safety, as the stock configuration lacks these important safety features.
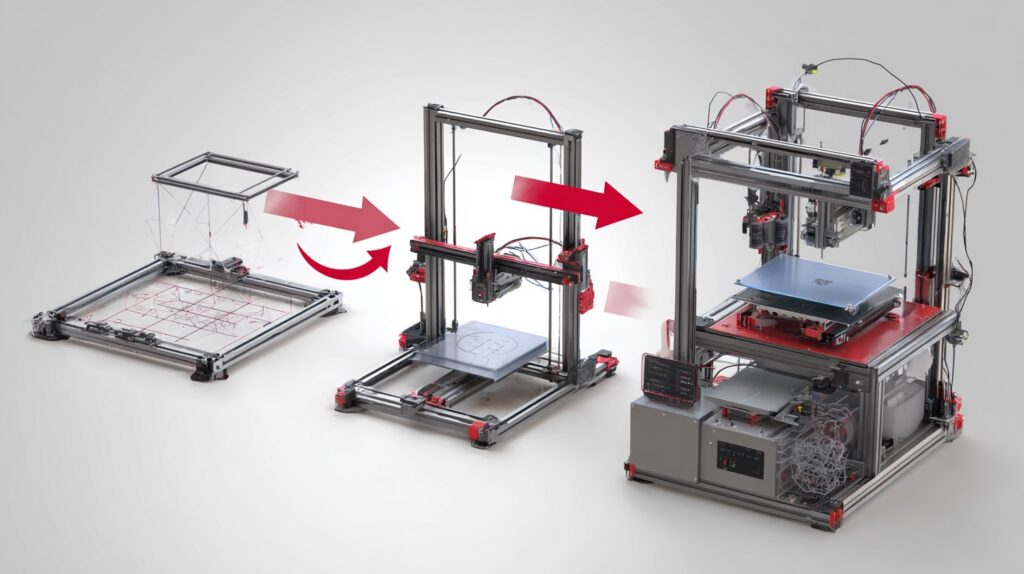
Complete Anet A8 build guide journey from components to first print
Heated Bed and Extruder Assembly
The heated bed assembly within your Anet A8 build guide demands careful attention to thermal and electrical safety considerations. Mount the aluminum heated bed to the Y-axis carriage using the provided springs and adjustment screws, ensuring level positioning across all four corners. The bed leveling process requires patience and precision, as proper first-layer adhesion depends on uniform bed height. Install the thermistor securely to the bed surface using thermal paste or high-temperature tape, ensuring good thermal contact for accurate temperature readings. The heated bed wiring should include strain relief to prevent wire fatigue from repeated Y-axis movement. Consider upgrading the bed surface with a glass plate or PEI sheet for improved print adhesion and surface quality.
First Print Setup and Calibration
Preparing your first print after completing the Anet A8 build guide requires systematic calibration and testing procedures. Begin with mechanical checks, verifying smooth movement along all axes without binding or excessive play. The bed leveling process forms the foundation of successful printing, requiring adjustment at each corner while maintaining consistent nozzle-to-bed distance. Use a piece of paper as a feeler gauge, adjusting until slight resistance occurs when sliding the paper between nozzle and bed. Load filament into the extruder, heating the hotend to appropriate temperature for your chosen material. PLA filament works well for initial testing, requiring hotend temperatures around 200°C and bed temperatures near 60°C.
Software configuration completes your Anet A8 build guide preparation, requiring slicer settings appropriate for the printer’s specifications. Popular slicing software like Cura, PrusaSlicer, or Simplify3D offer Anet A8 profiles as starting points for your settings. Key parameters include print speed (typically 50mm/s for initial prints), layer height (0.2mm provides good balance of quality and speed), and retraction settings (3-5mm at 40mm/s). Choose a simple test print like a calibration cube or Benchy boat for your first attempt, avoiding complex geometries that might reveal calibration issues. Monitor the first few layers closely, adjusting bed leveling if adhesion problems occur. Successful first layer printing indicates proper calibration and readiness for more complex projects.
Essential Safety Upgrades and Modifications
Successful first print completion following Anet A8 build guide
Safety upgrades represent crucial considerations following your initial Anet A8 build guide completion, addressing known design limitations. The stock power supply connections benefit from upgrading to higher-quality connectors and adding inline fuses for overcurrent protection. Install a MOSFET board to handle heated bed current, reducing load on the main control board and improving reliability. The acrylic frame can be reinforced with aluminum extrusions or steel brackets to reduce vibration and improve print quality. Adding thermal runaway protection through firmware updates prevents dangerous overheating conditions. Consider installing a smoke detector near the printer and never leave the machine unattended during printing operations, especially during initial testing phases.
Frequently Asked Questions
How do I build an Anet A8 3D printer?
Building an Anet A8 requires assembling the acrylic frame, installing electronics, connecting wiring, and calibrating the printer. Follow the included instructions carefully, taking 6-10 hours for first-time builders. Ensure proper tool preparation and safety precautions throughout the assembly process.
Is the Anet A8 safe to use?
The Anet A8 requires safety modifications for reliable operation. Install MOSFET boards for heated bed control, upgrade wiring connections, add thermal runaway protection, and never leave the printer unattended. These upgrades address known safety concerns with the stock configuration.
What upgrades should I do on an Anet A8?
Essential Anet A8 upgrades include MOSFET board installation, frame reinforcement, improved bed leveling systems, upgraded power supply connections, and firmware updates with thermal runaway protection. These modifications improve safety, reliability, and print quality significantly.
Ready to Build Your Perfect 3D Printer?
Building an Anet A8 represents just the beginning of your 3D printing journey. Whether you need guidance on advanced modifications, troubleshooting assistance, or recommendations for your next printer upgrade, our team of experienced builders can help you achieve your goals. Contact us for personalized consultation and take your 3D printing capabilities to new heights.